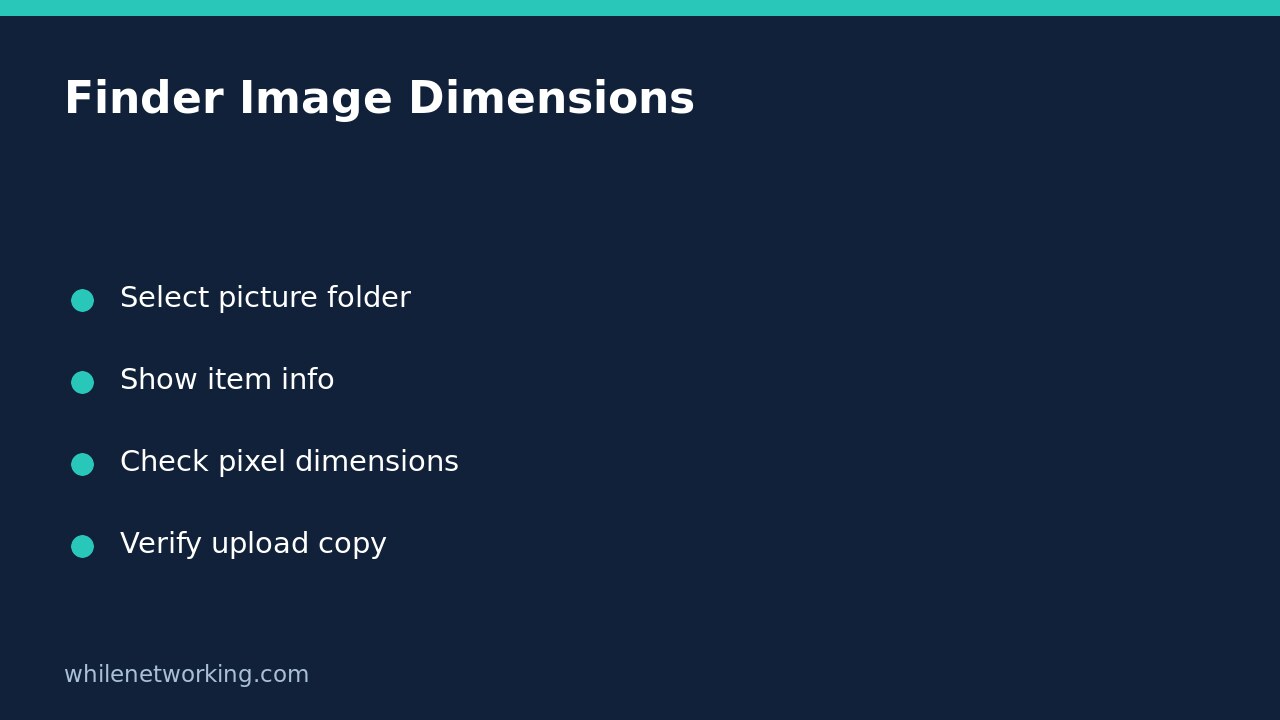

To see image dimensions while browsing pictures on a Mac, open their folder in Finder, switch to Icon view, choose View > Show View Options, then select Show item info. Apple documents image dimensions as one kind of information Finder can display below icons. This is a useful first check before selecting a picture for a website, application form or shared document.
Keep two requirements separate: pixel dimensions describe the image’s width and height, while file size describes how much data the file contains. A picture that meets a pixel requirement can still exceed an upload’s file-size limit. Neither measurement establishes that you have permission to publish the picture.
Start with the exact folder and picture
Open the folder containing the image you intend to send. Avoid beginning from an old email attachment or a similarly named exported copy unless that is genuinely the upload candidate. If several versions exist, identify the intended file by its complete name and location before interpreting its measurements.
Use the Finder View menu to select the icon layout. Apple’s Show item info option is available for Icon view; looking for it while using a different layout can lead to unnecessary troubleshooting. Select View > Show View Options and turn on Show item info. Read the information beneath the relevant picture rather than assuming every line beneath every kind of file represents the same measurement.
If filenames are difficult to distinguish, use the separate walkthrough for showing full filenames with Finder list columns to identify the right item first. Return to Icon view for this dimensions workflow. Changing the layout does not resize the picture.
Compare pixels with the actual upload instructions
Copy the destination’s requirements into a short checklist before editing anything. Does it specify a minimum width, an exact width and height, a shape, an accepted file format, a maximum file size, or several of these? Do not replace the destination’s wording with a guessed standard image size.
For a hypothetical example, suppose a form asks for an image exactly 1200 pixels wide and 800 pixels high. A candidate measuring 1200 by 800 meets those stated dimensions, but still needs separate format and file-size checks. A 1200 by 1200 image does not meet the exact height requirement merely because its width matches. These numbers are illustrative, not a recommendation for every website.
Also check orientation: width and height are not interchangeable when the destination requires a landscape or portrait image. A visual thumbnail can help identify the subject, but it is not a substitute for reading the measurements. Do not infer print quality, colour accuracy or legibility solely from pixel dimensions.
Check file information without altering the original
Select the candidate and choose File > Get Info, or press Command-I, to open its information window. Apple documents this as the way to obtain information about an individual file, folder or disk. Keep the selected file’s identity visible while reviewing the details, especially when multiple information windows are open.
Do not confuse Finder’s available disk space with the selected picture’s file size. Available space describes storage capacity, not the size of the upload candidate. Likewise, renaming an extension is not an image conversion and will not solve an unsupported-format problem.
If a dimension or other expected field is missing, record that limitation rather than guessing. Use the image’s normal viewing or editing application to inspect it further. This article does not claim that Finder exposes identical metadata for every image format or every macOS release.
If the picture needs changes, verify a separate export
Use an appropriate image application to create a separate upload copy when resizing, cropping or converting is necessary. Preserve the original and give the export an identifiable name. Cropping can remove useful content; shrinking can make text unreadable; enlarging does not recreate missing detail. Review the result visually as well as numerically.
Return to Finder and check the exported file, not the original that already had the wrong dimensions. Confirm that the upload chooser points to this same copy. After submission, inspect any available preview: a destination may crop or process an image even when the source satisfied its input requirements.
Quick questions and final checklist
Does Show item info change my image? It changes the displayed Finder information, not the picture’s pixel dimensions. To reverse the display change, reopen View Options and deselect Show item info.
Do matching dimensions guarantee an accepted upload? No. File type, data size, content rules and the destination’s processing remain separate checks.
- Identify the exact file and folder.
- Read width and height against the stated requirements.
- Check file size and format separately.
- Keep the original when creating an edited copy.
- Inspect the actual uploaded preview when available.
Source: Apple’s Finder information instructions. This tutorial is for educational purposes. Test carefully before using steps in production. The site owner is not responsible for misuse, damage, data loss or production issues.