Basic Network Troubleshooting Flowchart is a useful topic for new IT support staff, students, home lab learners, and anyone starting a networking career. This beginner-friendly tutorial explains the topic clearly and gives practical troubleshooting examples.
- Simple explanation for beginners
- Real-world IT support examples
- Useful commands for practice
- Safe troubleshooting checklist
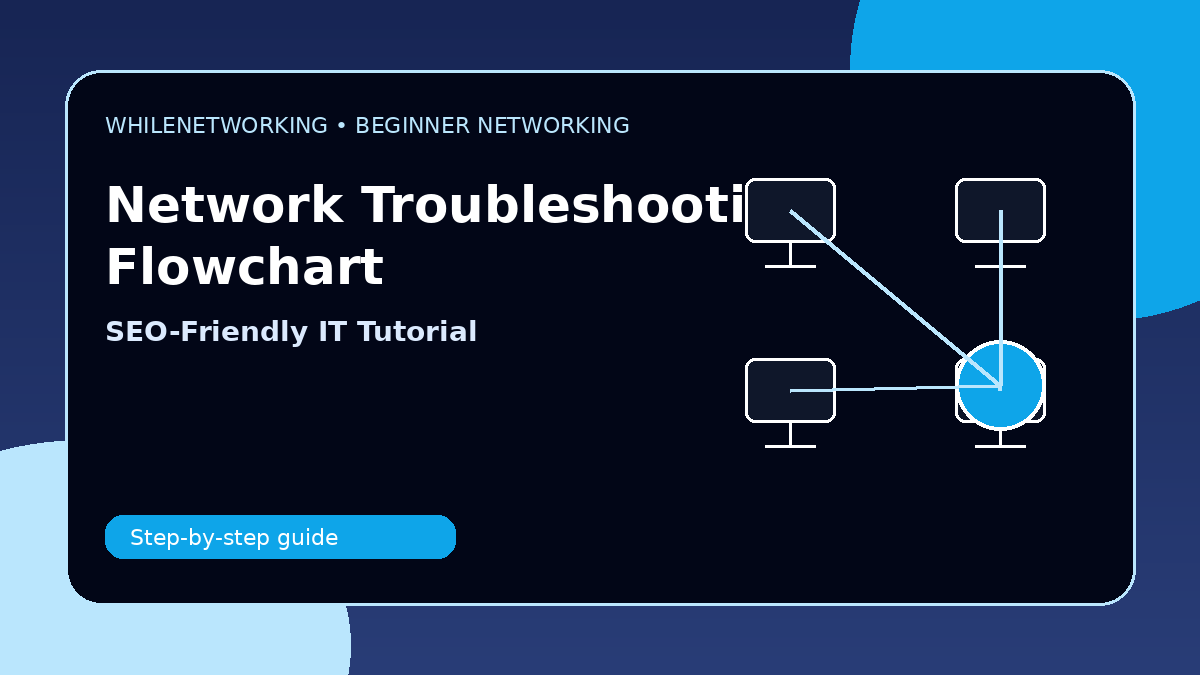
Why use a troubleshooting flowchart?
A flowchart helps beginners avoid random guessing. It gives a logical order for checking network problems.
Step 1: Identify the scope
Ask whether one user, many users, one application, or the whole site is affected. Scope helps you choose the right troubleshooting path.
Step 2: Check physical and wireless connection
Confirm cable, Wi-Fi, adapter status, signal strength, and whether the device is connected to the correct network.
Step 3: Check IP settings
Review IP address, subnet mask, gateway, and DNS. A wrong gateway or DNS server can break access even when Wi-Fi is connected.
Step 4: Test in layers
Ping the gateway, then ping a public IP, then test DNS, then test the application. This layered process quickly shows where the problem is.
Useful commands for practice
ipconfig /all
ping default-gateway
ping 8.8.8.8
nslookup google.com
tracert google.com
Quick troubleshooting checklist
- Confirm what changed recently.
- Check whether one device or many devices are affected.
- Verify cable, Wi-Fi, IP address, gateway, and DNS.
- Run simple tests before changing advanced settings.
- Document the result and escalate with evidence if needed.
Final thoughts
Networking becomes easier when you learn the basic concepts and follow a structured troubleshooting process. Practice these commands in a safe lab and build confidence step by step.
Educational note: This tutorial is for learning purposes. Test carefully and do not make changes to production systems without permission, documentation, and backups.

