Linux Server Monitoring With Netdata is a practical topic for IT professionals, Linux administrators, help desk engineers, DevOps learners, and server support teams. This guide explains the concept with real commands and safe troubleshooting steps.
- Clear explanation for practical server work
- Common symptoms and use cases
- Useful commands for real troubleshooting
- Security and reliability best practices
Why real-time monitoring matters
Linux servers can fail silently when CPU, memory, disk I/O, network usage, or services behave abnormally. A real-time monitoring dashboard helps IT teams identify problems before users complain.
What Netdata provides
Netdata is a lightweight monitoring tool that displays live charts for CPU, RAM, disk, network, containers, systemd services, and many application metrics.
Best use cases
Netdata is useful for small servers, lab servers, WordPress hosting, VPS monitoring, database troubleshooting, and learning Linux performance basics.
Important security note
Do not expose monitoring dashboards publicly without authentication, firewall rules, reverse proxy protection, or VPN access.
Practical troubleshooting workflow
Open the dashboard, check CPU load, memory pressure, disk space, disk I/O, network traffic, and service health. Then compare current activity with normal baseline behavior.
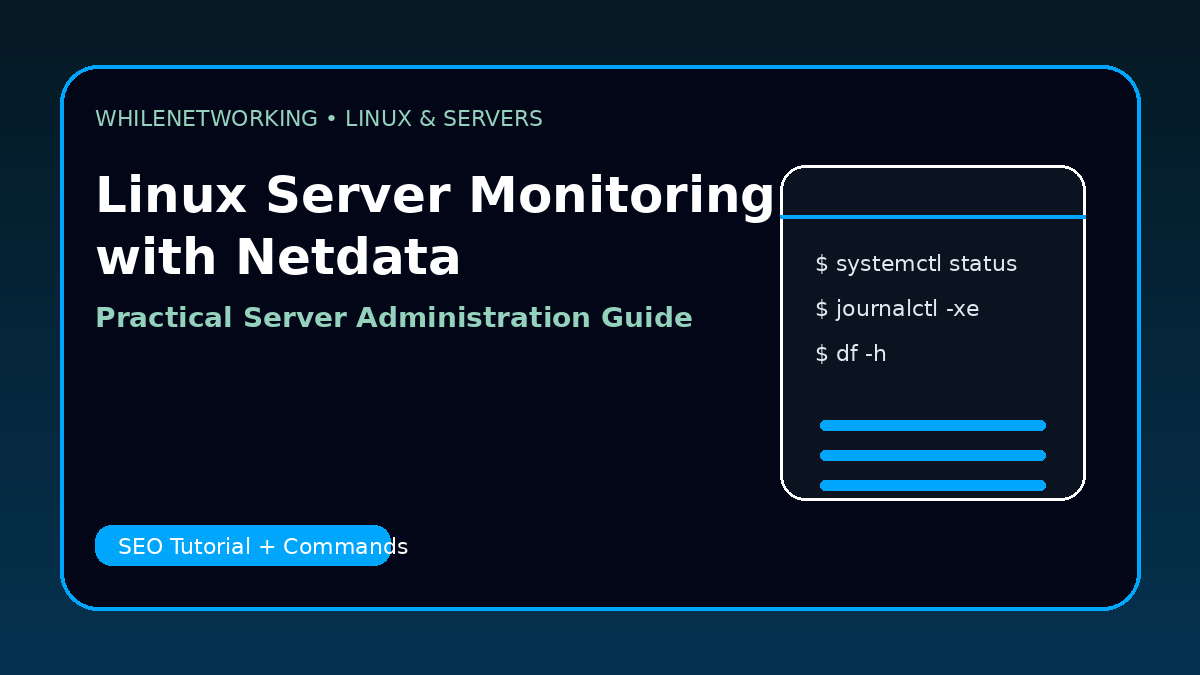
Useful Linux commands
sudo apt update
sudo apt install netdata
systemctl status netdata
ss -tulpn | grep 19999
curl http://localhost:19999
Recommended admin checklist
- Confirm the affected server, service, user group, and timeline.
- Check logs before restarting services.
- Verify disk, CPU, memory, network, and service status.
- Document commands used and results found.
- Apply one change at a time and verify after every change.
Educational note: This tutorial is for learning purposes. Test carefully in a lab or approved environment before applying changes to production servers.