So you have read about Linux? You have heard about it’s awesomeness? And now you want to dive into the Linux world? But don’t know where to begin and how to take the first step? Then Congratulations! You have just found the easiest guide to Linux installation.
Requirements:
For the easiest Linux installation you need few things.
- A Linux ISO image file.
- A CD/DVD or a flash Drive
- [Optional] Virtualization Software
- And obviously a computer.
Installation method:
You can install Linux in your computer in more than one way, like.
- Installing Linux Virtually – Safest and easiest way with little/no limitations.
- Installing Linux Natively – Full blown Linux installation with little risk
- Using Live Linux distribution from Flash Drive – No risk but changes will be gone after restarting your computer.
In this post We will discuss about the first way, which is installing Linux virtually in your computer. Let’s get started!
01. Installing Linux Virtually
For this method you have to download two things. A virtualization software of your choice, I prefer VMware Workstation Player. Then you need an iso image of a Linux distribution of your choice. Again, I prefer CentOS 7. Here is the free download links you need:
VMware Workstation Player: https://www.vmware.com/products/workstation-player/workstation-player-evaluation.html
CentOS 7 iso image: http://isoredirect.centos.org/centos/7/isos/x86_64/CentOS-7-x86_64-Everything-1708.iso
If you are a Mac OS user, you may need to download Virtual Box, instead of VMware Workstation Player.
Installing VMware Workstation Player
If you have downloaded VMware Workstation Player from the above link, you will get an executable(.exe) file. Double click on that file and follow the installation instruction. You will be able to install this without any complexity.
Preparing a Virtual Machine for Centos 7
Follow the steps below to install CentOS 7 within VMware Workstation Player.
01. Creating a virtual machine: Open VMware Workstation Player and select “Create a New Virtual Machine”.

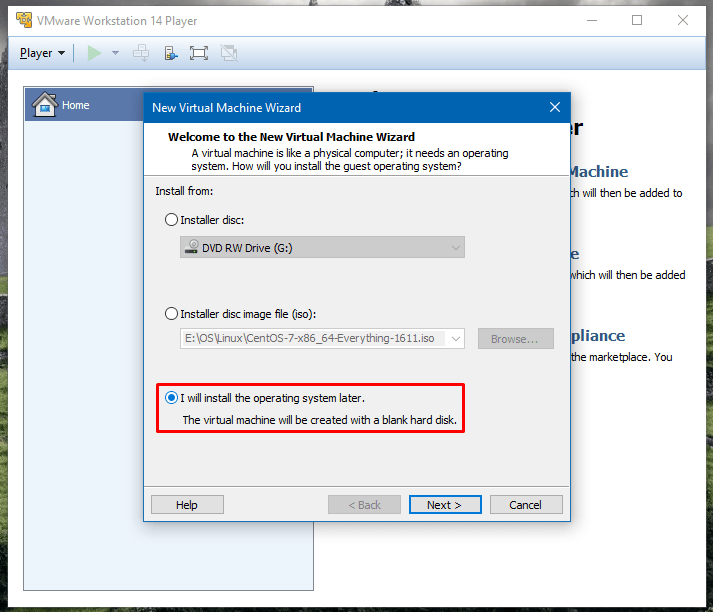
02. Selecting Operating System: In the next dialogue box, select “I will install the operating system later.”. Then click on “Next >”:
Then select “Linux” and “CentOS 7 64-bit” like the figures below.


04. Naming your virtual machine: Give your virtual machine a suitable name. Also select a folder for your virtual machine files.

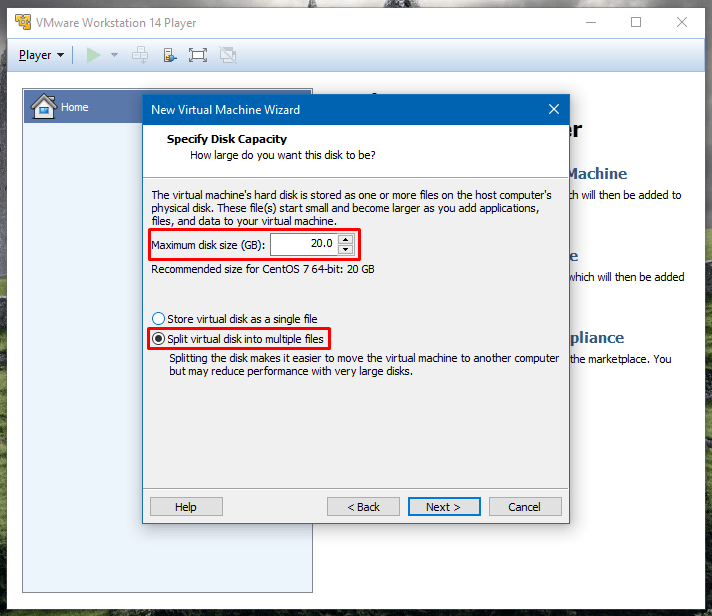
05. Allocating resources for your virtual machine: In the next dialogue boxes define hard disk size, ram size, processor numbers.
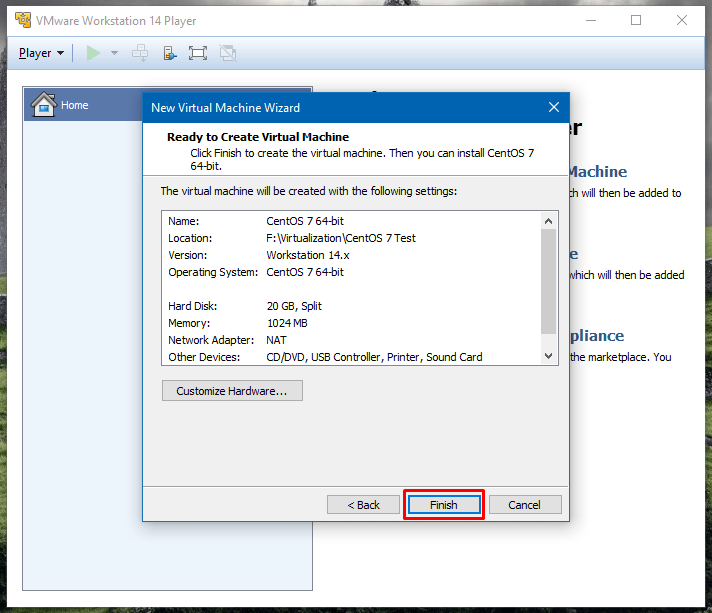
Click “Finish” when you are done!
06. Selecting Linux iso image: Select newly created virtual machine. Then right click on it for “Settings”. Now select “CD/DVD (IDE)” and browse to where you have copied your CentOS 7 iso image. Select that file and click “OK”.


Installing CentOS 7 in Virtual Machine
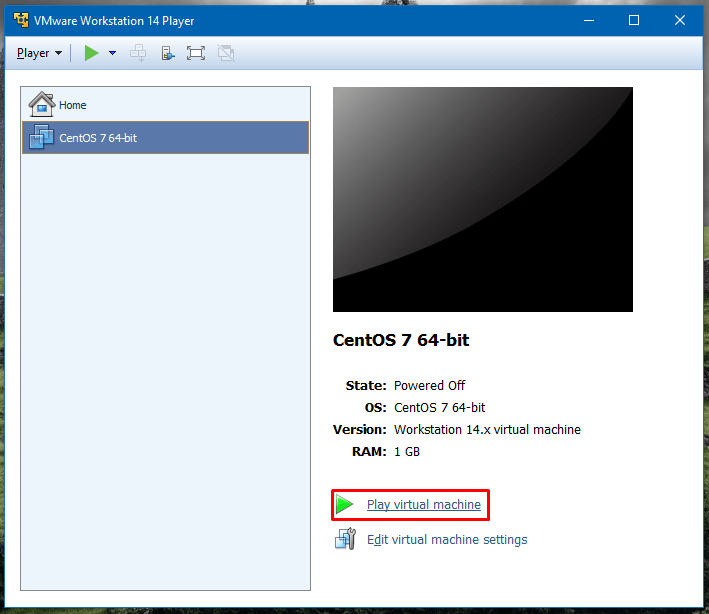
Finally, it’s time to power on your virtual computer! Click on “Play Virtual Machine”.
01. Booting new computer from CentOS 7: After turning on virtual machine you will see a boot screen. Select “Install CentOS Linux 7”. Then in the next screen press “Enter”.


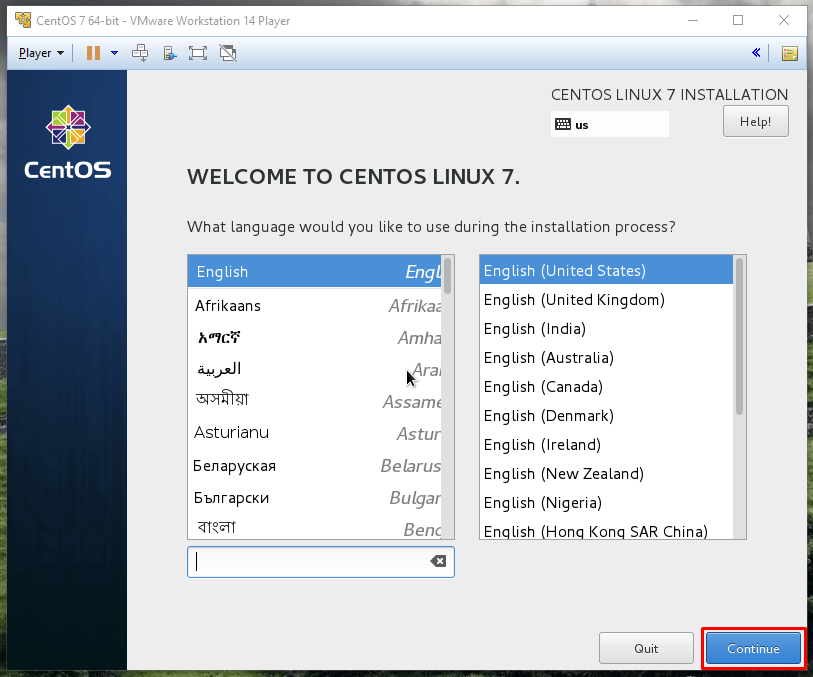
02. Selecting language and time zone: In this screen, select language as English. Also select your preferred time zone.


03. Flavor selection: In this step, select “Software Selection”. Then select “Server with GUI”. Finally click on “Done” .


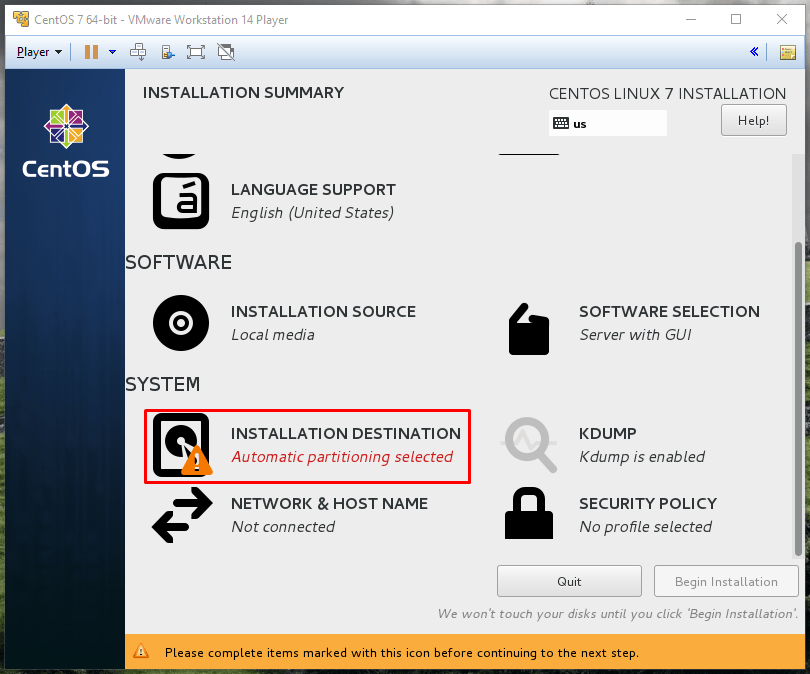
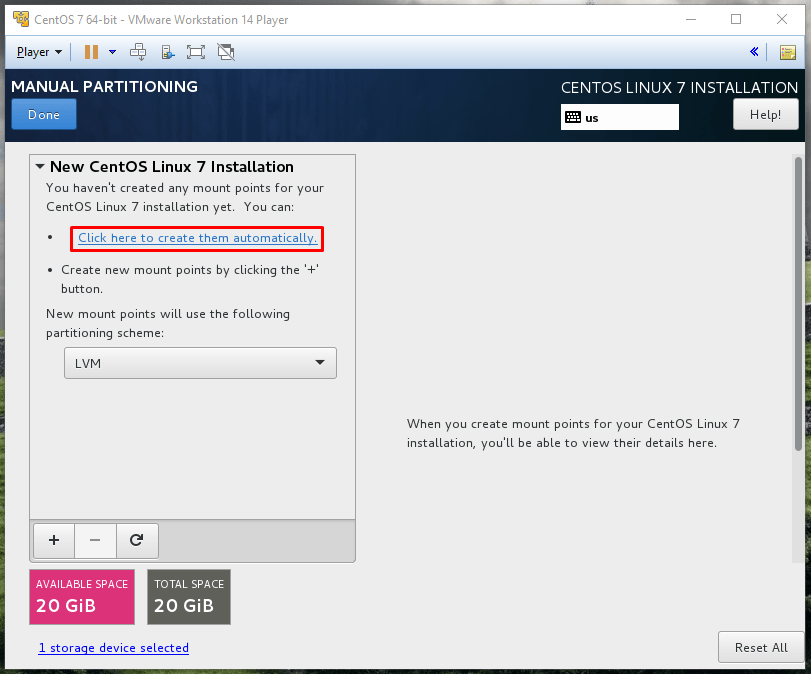
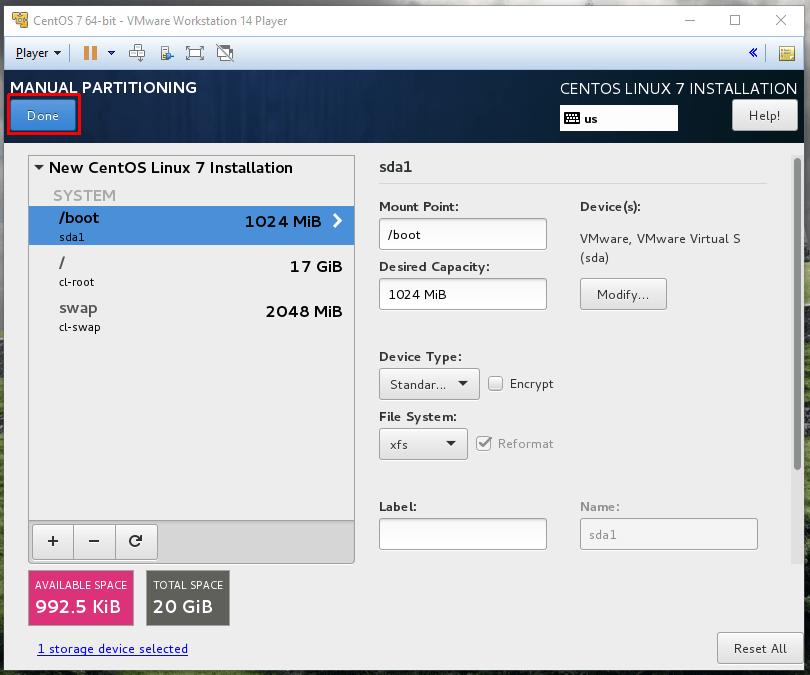
04. Partitioning: This step is very important. Making a mistake in this step may cause your hard disk formatted. Click on “Installation Destination”. After that, select “I will configure partitioning” in the next dialogue box. Then select “Click here to create them automatically”. Then click “Done” and “Accept changes”.


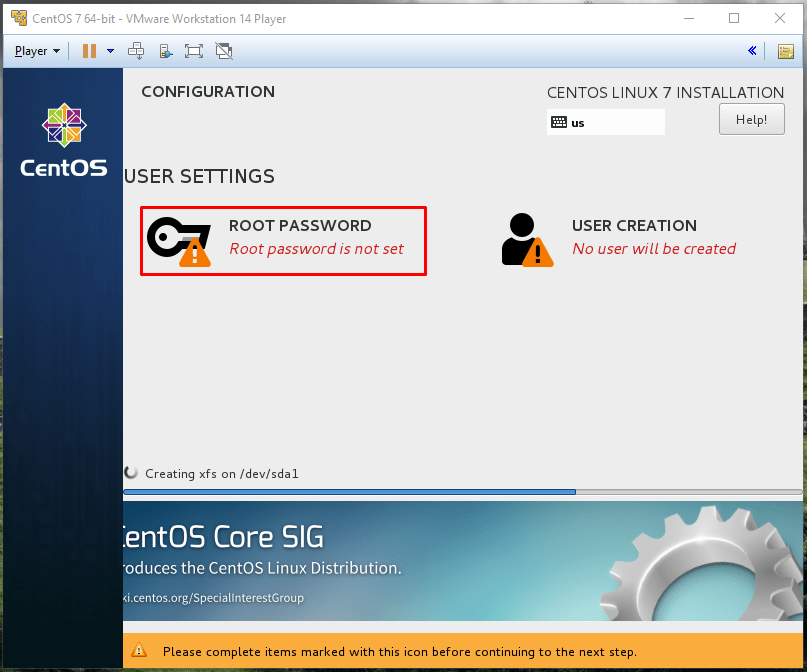
05. Creating root password and another user: Now click on “Begin installation”. In the next screen set a strong root password and create a new user with password. Click on “Done” when finished.


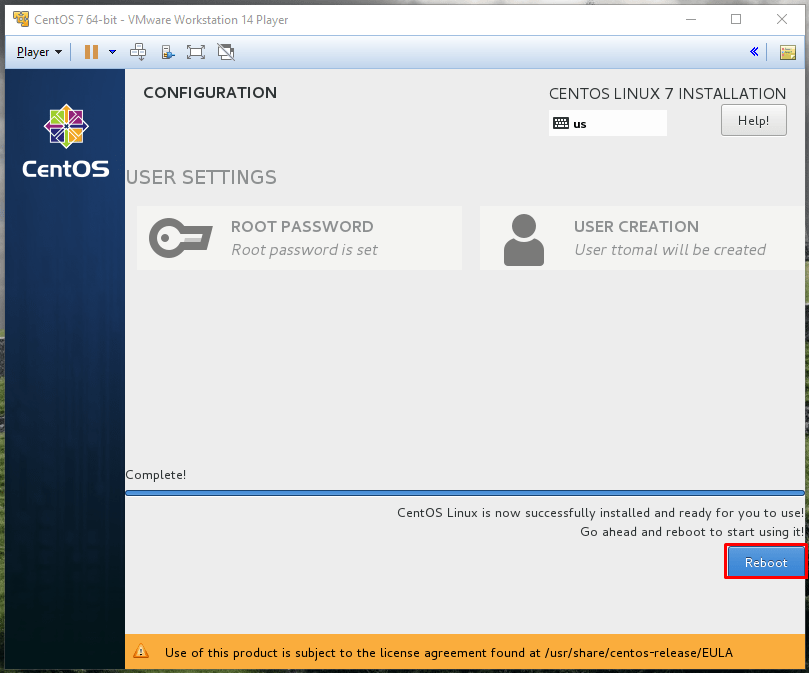
06. Rebooting virtual machine: You can see file copy progress in below and a reboot button when done. Click on that button!

Logging into Linux World
Now you have done installing. Its time to log in to your CentOS 7.
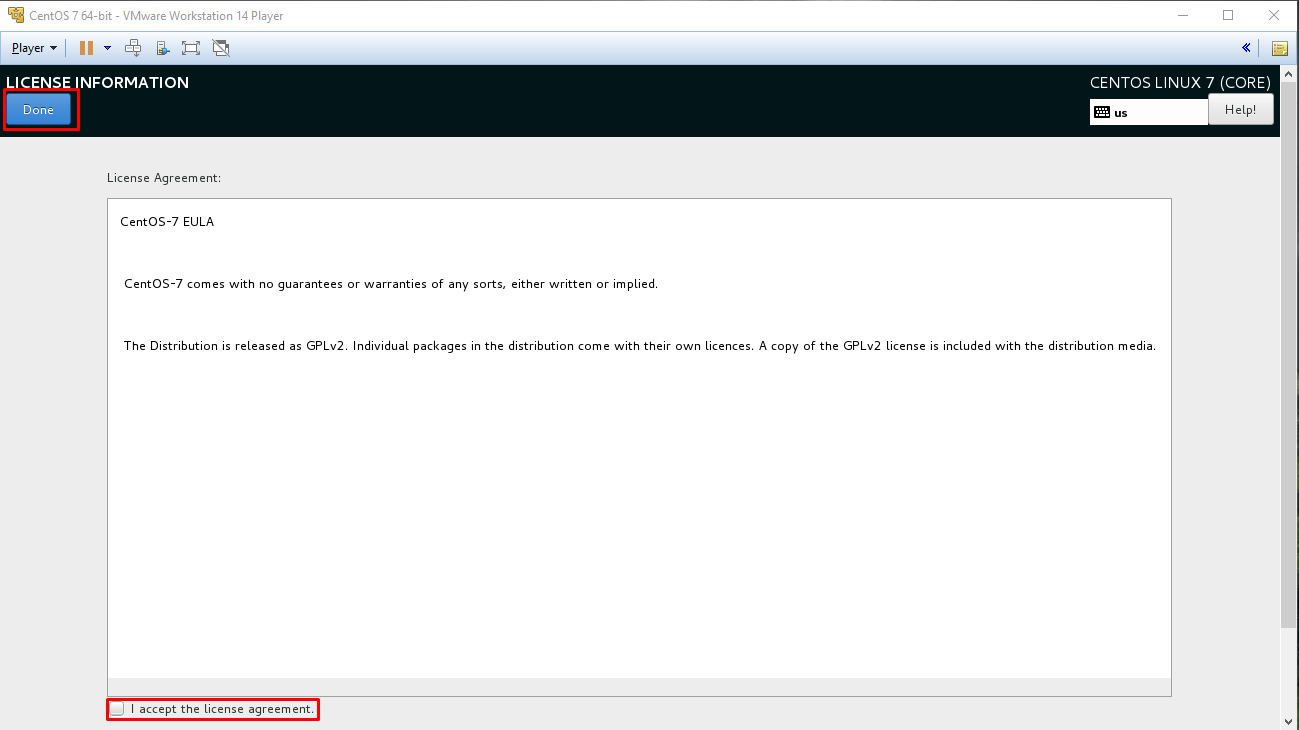
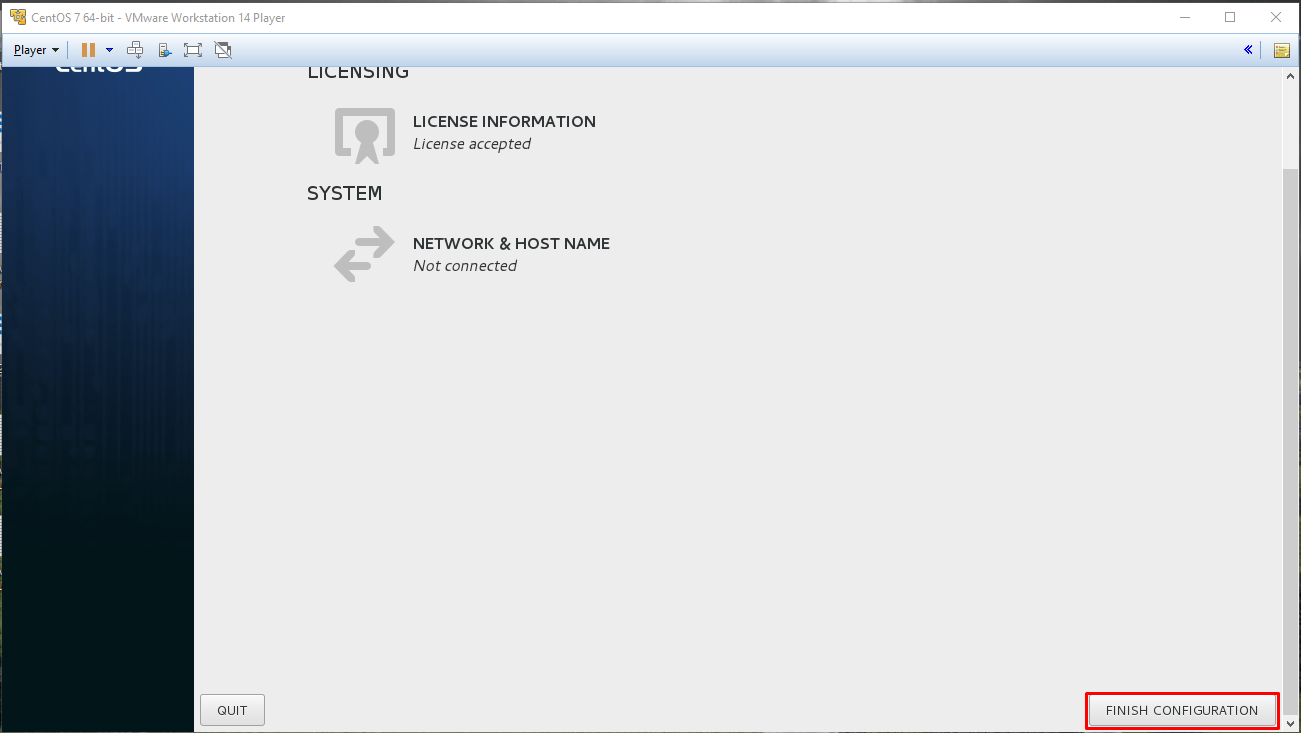
01. Accepting License agreement: When you turn on the virtual computer for the first time, you will see a dialogue box below. Select “License Information”. Then accept the license agreement from below and click on “Done”. Now you can click on “Finish Configuration”.

02. Logging into CentOS 7: Now click on your username, input password and click on “Sign In”.


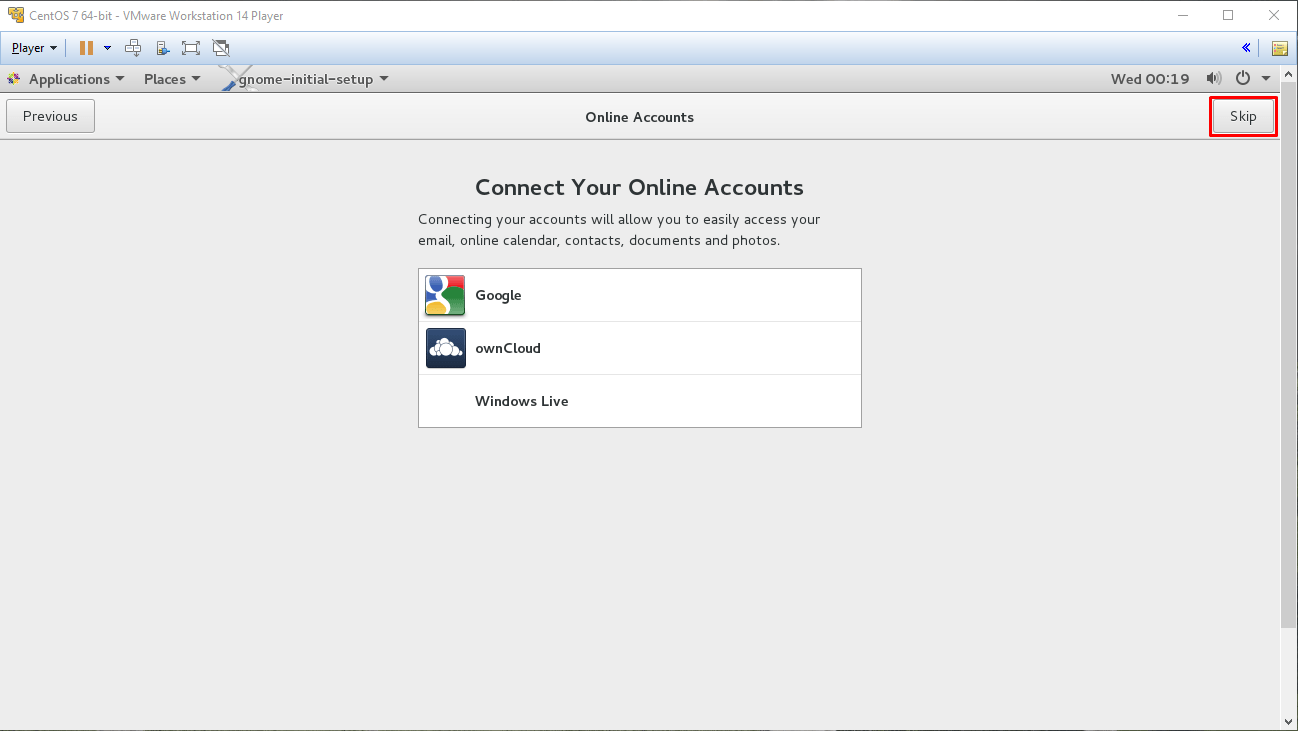
03. Tour to CentOS 7: After logging in you will see few little “house-keeping” settings. Select next and close the dialogue box.


04. Finalizing the Installation: You can use full screen mode in VMware Workstation player for a larger screen.
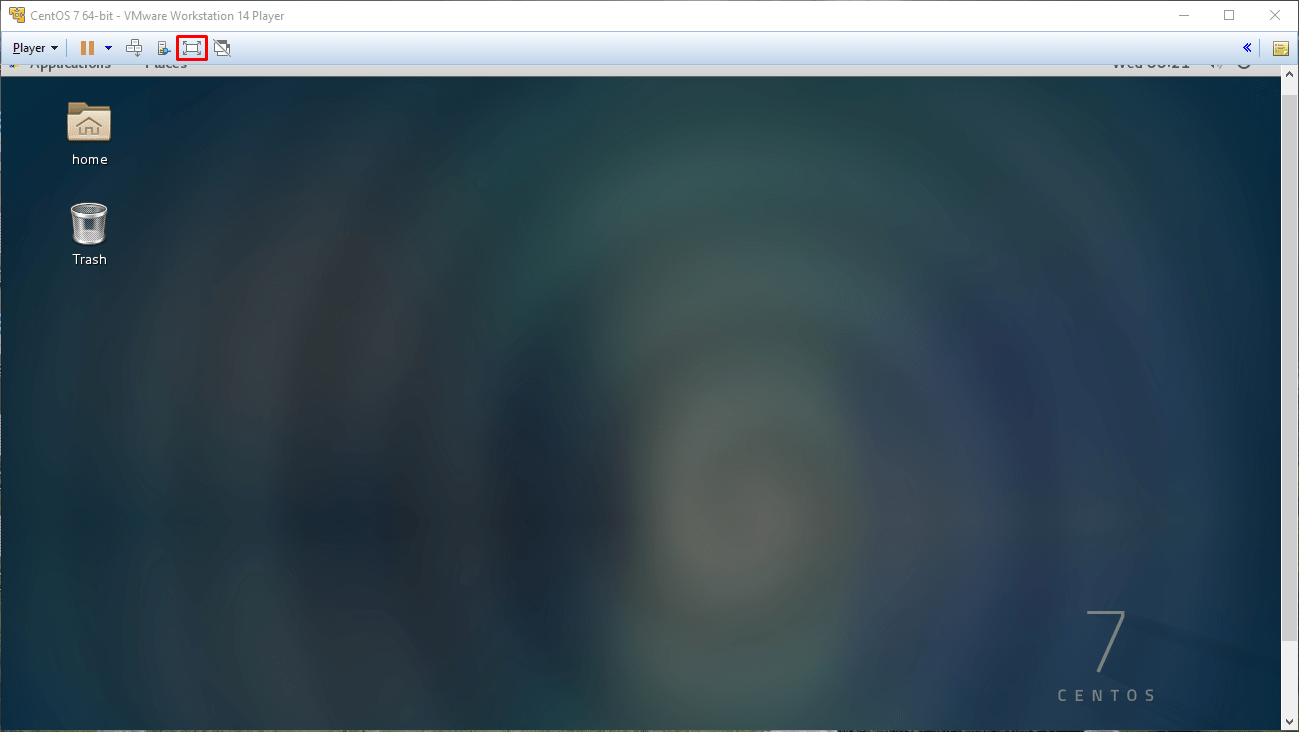
Now you have finished your first CentOS 7 installation. Enjoy!
Leave a Reply